 +1 (774)478-6704
 Order@premiumonebackdrops.com


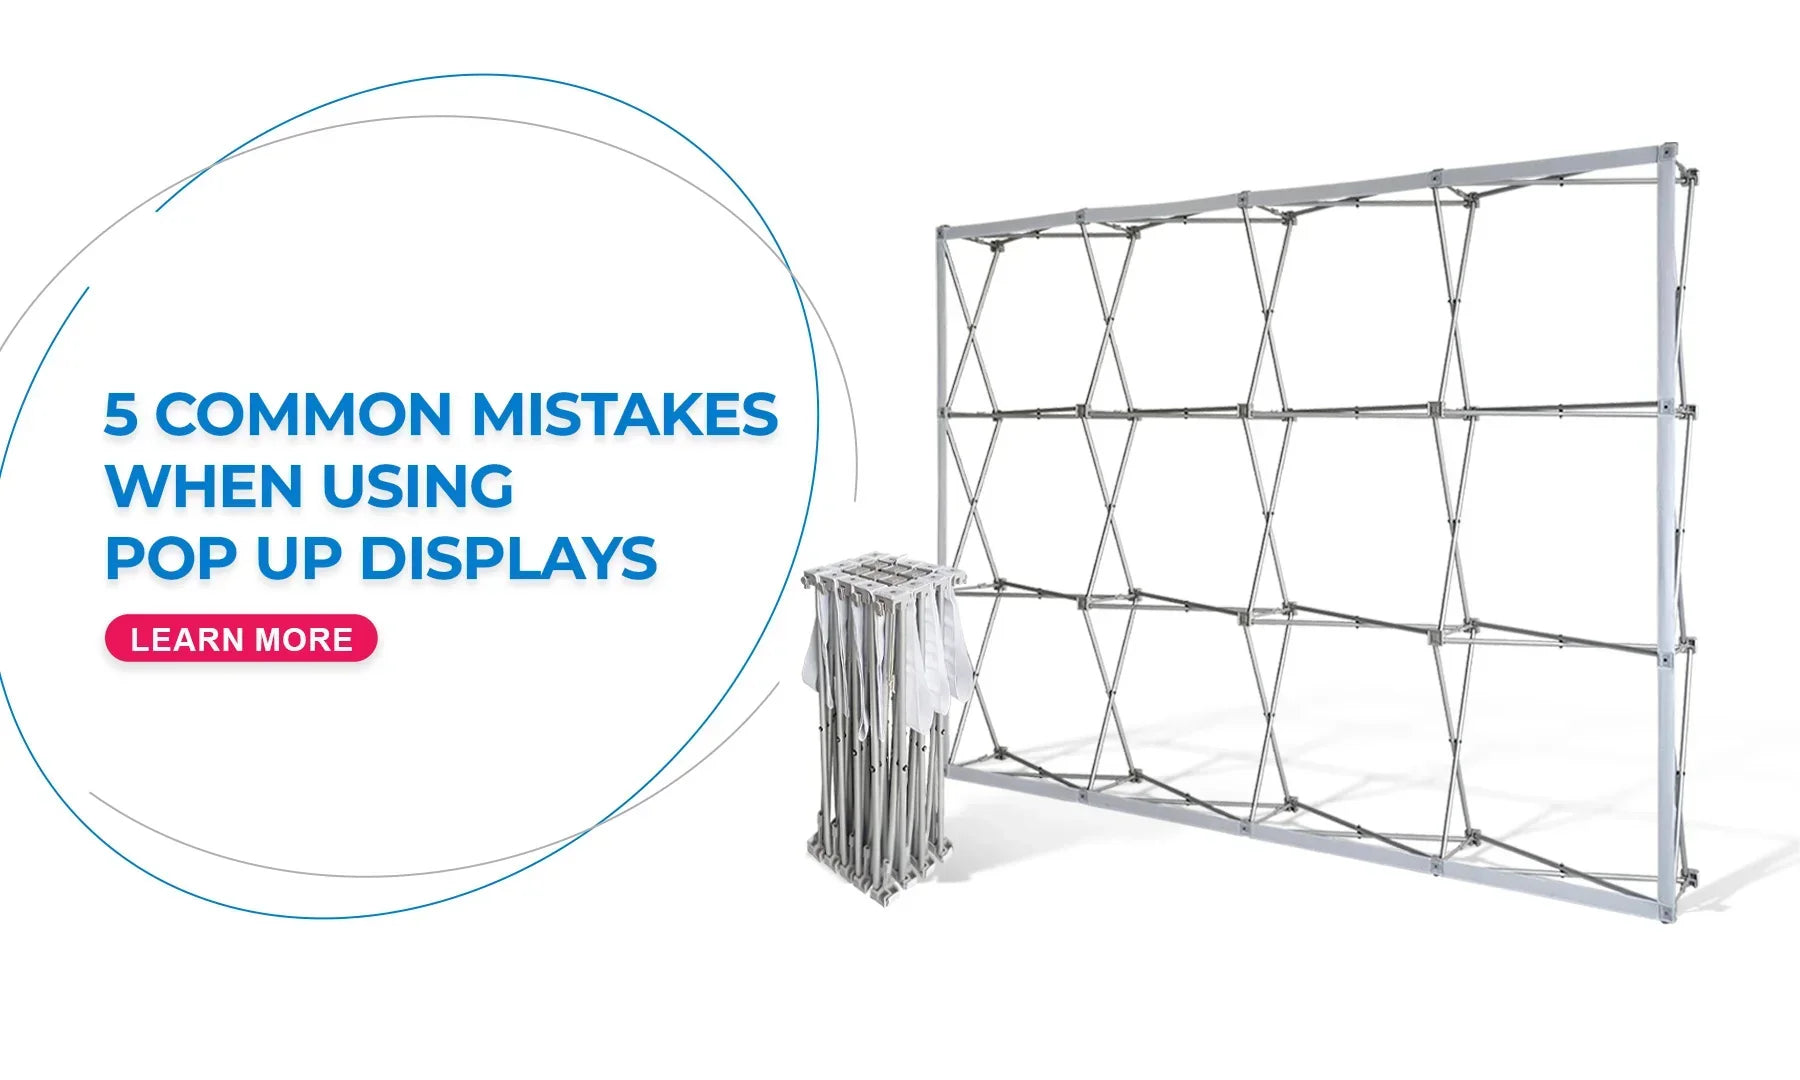
Pop up displays are designed to make trade show booth setup faster and more manageable. Their collapsible frames, large fabric graphics, and portable format make them practical for exhibitors attending trade shows, conferences, recruiting fairs, product presentations, and promotional events.
However, even a well-designed display can lose its professional appearance when setup is rushed, the graphic contains too much information, the fabric is installed incorrectly, or the display is packed carelessly after the event.
The good news is that most common pop up display mistakes are preventable. The following five examples will help your team prepare more efficiently, protect the display, and create a cleaner booth presentation.
Mistake 1: Skipping a Practice Setup
The first time your team opens the display should not be on the morning of the trade show. Even when the frame uses a simple collapsible structure, an unfamiliar team can still lose valuable time identifying the correct orientation, expanding the frame correctly, aligning the graphic, or understanding the packing process.
Complete one full practice setup before the display is packed for the event. Ideally, the same team members attending the show should assemble and dismantle it together.
During the practice setup, check that:
- The frame expands fully and remains stable
- The front and back of the display are identified correctly
- The graphic is installed in the correct orientation
- The fabric sits evenly without loose corners or visible twisting
- The team understands how to dismantle and repack the frame and graphic
Trade show planning experts also emphasize the importance of assigning clear setup responsibilities. EXHIBITOR Magazine explains that adding more people does not necessarily make an installation faster. Dividing the work into defined tasks can help a team avoid congestion and unnecessary delays.
Read more in EXHIBITOR Magazine’s Tips for Smooth Setups.
The collapsible frame used in the Straight Fabric Pop Up Display helps reduce unnecessary assembly steps, but completing a practice run remains the best way to make sure your team is prepared.

A complete practice setup helps identify alignment, orientation, and stability problems before your team arrives at the venue.
Mistake 2: Overloading the Graphic with Information
A trade show backdrop is not a product catalog. Trying to include every service, product, certification, website, social account, and company message usually makes the graphic harder to understand.
Visitors often see the display while walking through a busy aisle. They should be able to identify your company and understand the main offer within a few seconds.
A more effective pop up display graphic usually contains:
- One clear headline
- A recognizable company logo
- One primary product, service, or campaign message
- A limited number of supporting points
- A website or simple call to action
Avoid placing important text too close to the edges, seams, or lower areas that may be blocked by furniture placed in front of the backdrop. Use enough negative space to keep the logo and main message readable from several feet away.
Text size should also reflect viewing distance. A message that looks clear on a computer screen may be difficult to read once it is printed across a large backdrop and viewed from an exhibition aisle.
The large graphic surfaces available across the Pop Up Display collection provide plenty of branding space. However, the strongest design is usually the one that communicates the most important idea clearly rather than filling every available area.
Mistake 3: Installing the Graphic Incorrectly
A fabric graphic can appear uneven even when the frame itself has been assembled correctly. This usually happens when the graphic is installed in the wrong orientation, pulled too strongly from one side, or adjusted before the frame has been fully expanded.
Before fitting the graphic, make sure the frame is completely open and stable. Identify the top, bottom, front, and back of the artwork before beginning the installation.
When installing the graphic:
- Expand and secure the frame before fitting the fabric
- Confirm the correct top and bottom orientation
- Align the graphic gradually instead of pulling from one corner
- Check that logos and text remain level
- Smooth the fabric evenly across the frame
- Stop and reposition the graphic if the seams appear twisted
Do not use excessive force to make an incorrectly positioned graphic fit. Pulling too strongly can place unnecessary stress on the fabric and may make the artwork appear distorted.
After installation, step several feet away from the display and review the complete graphic. This makes it easier to notice uneven edges, tilted text, distorted logos, or incorrect artwork orientation.

Keep the installation instructions and a small event tool kit together so the team can check alignment and complete the setup in an organized way.
Mistake 4: Improper Storage and Transportation
Some display problems begin after the event rather than during setup. When a team is rushing to leave the venue, the graphic may be folded carelessly, placed underneath the frame, or packed before it is completely clean and dry.
Incorrect packing can create deep creases, surface marks, or unnecessary wear before the next event.
Use a consistent packing process:
- Remove the graphic carefully without pulling one corner excessively
- Make sure the graphic is clean and completely dry
- Fold or roll it according to the product instructions
- Keep the printed fabric away from sharp frame edges
- Collapse the frame carefully without forcing the structure
- Confirm that the complete frame and graphic have been collected
- Do not force an overloaded frame or graphic into the carrying bag
Before dismantling the booth, take a quick photo of how the frame and graphic were originally arranged inside the carrying bag. This can give the team a useful reference when repacking the display after a busy event.
A portable display is easier to reuse when the frame and graphic each have an assigned storage position. The carrying bag included with applicable POB pop up displays helps keep the main components together, but the contents should still be packed carefully.

Pack the graphic and collapsible frame carefully to reduce wrinkles, surface damage, and unnecessary wear between events.
Mistake 5: Forgetting the Instructions and Basic Event Tools
A booth setup can be delayed by something as simple as missing installation instructions, a measuring tape, or a safety cutter for opening the shipping package.
These items are not included as part of the pop up display itself, but preparing a small event tool kit can help your team complete normal setup and packing tasks more efficiently.
A basic event kit may contain:
- Printed installation instructions
- Measuring tape
- Scissors or a safety cutter for opening packaging
- Microfiber cleaning cloth
- Removable labels for identifying packed components
- A frame and graphic packing checklist
- Contact details for the event service desk
These tools should only support the normal setup and packing process. They should not be used to cut, drill, force, or permanently modify the display frame or fabric graphic.
If the frame does not expand correctly or the graphic does not fit as expected, stop and review the installation instructions before attempting an improvised repair.
Your Final Pre-Show Pop Up Display Checklist
A reliable checklist reduces the chance that an important task or component will be missed during a busy event schedule.
Freeman’s first-time exhibitor checklist recommends creating an action plan, assigning team responsibilities, reviewing the official show manual, testing equipment before the show opens, and designating a person to oversee dismantling, packing, and shipping.
Review the complete Freeman First-Time Exhibitor Checklist for additional professional planning guidance.
Before leaving for your event, confirm the following:
- The complete display has been assembled successfully at least once
- The graphic is facing the correct direction and fits the frame properly
- The fabric is aligned without twisting or excessive tension
- The logo and main message are readable from several feet away
- The installation instructions are packed with the display
- The frame and graphic are protected inside the carrying bag
- The packing process has been reviewed by the event team
- One team member is responsible for the final packing check
Frequently Asked Questions
How Early Should We Practice Setting Up a Pop Up Display?
Complete the first practice setup several days before the event rather than waiting until the night before departure. This gives the team enough time to review the instructions, confirm the graphic orientation, inspect the frame, and resolve questions before the shipping or move-in deadline.
The same team members who will attend the event should participate whenever possible so everyone understands the setup, dismantling, and packing process.
How Can We Tell If the Fabric Graphic Is Installed Correctly?
The frame should be fully expanded and stable before the graphic is fitted. The artwork should face the correct direction, the logo and text should remain level, and the fabric should sit evenly without visible twisting or excessive tension.
After installation, step several feet away and inspect the complete display. Uneven edges, tilted text, distorted logos, or twisted seams usually indicate that the graphic needs to be repositioned.
Can a Wrinkled Pop Up Display Graphic Still Be Used?
Minor wrinkles may become less noticeable after the fabric is installed evenly and allowed to remain under normal tension. However, deep creases caused by incorrect packing may be more difficult to remove.
Follow the cleaning and care instructions provided for the specific fabric graphic. Do not apply high heat, aggressive chemicals, or an unapproved treatment that could damage the print or material.
What Should We Do If the Frame Does Not Open Correctly?
Stop before applying additional force. Check that the frame is facing the correct direction, no fabric or packing material is caught between the sections, and the connectors are aligned according to the installation instructions.
Do not drill, bend, cut, or permanently modify the frame. If the structure still does not expand correctly, document the problem with clear photos and contact the supplier before attempting an improvised repair.
How Should a Pop Up Display Be Stored Between Events?
Make sure the frame and fabric graphic are clean and completely dry before packing. Keep the fabric away from sharp edges and heavy frame sections, and avoid forcing too many items into the carrying bag.
Store the packed display in a clean, dry location away from excessive moisture, heat, and objects that could crush or damage the frame. Labeling the frame and graphic can also help teams match the correct components before the next event.
Turn Better Preparation into a Better Booth
Most pop up display mistakes are not caused by the display itself. They happen when the team is unfamiliar with the installation, the graphic tries to communicate too much, the fabric is installed incorrectly, or the display is packed without an organized process.
Practice the setup, simplify the message, align the graphic carefully, keep the instructions available, and use a clear packing checklist. These steps help your team spend less time solving preventable problems and more time preparing to meet visitors.
Do not let avoidable setup mistakes disrupt your next trade show. Explore the Pop Up Display collection or request a free quote based on your booth size, event date, and branding goals.