
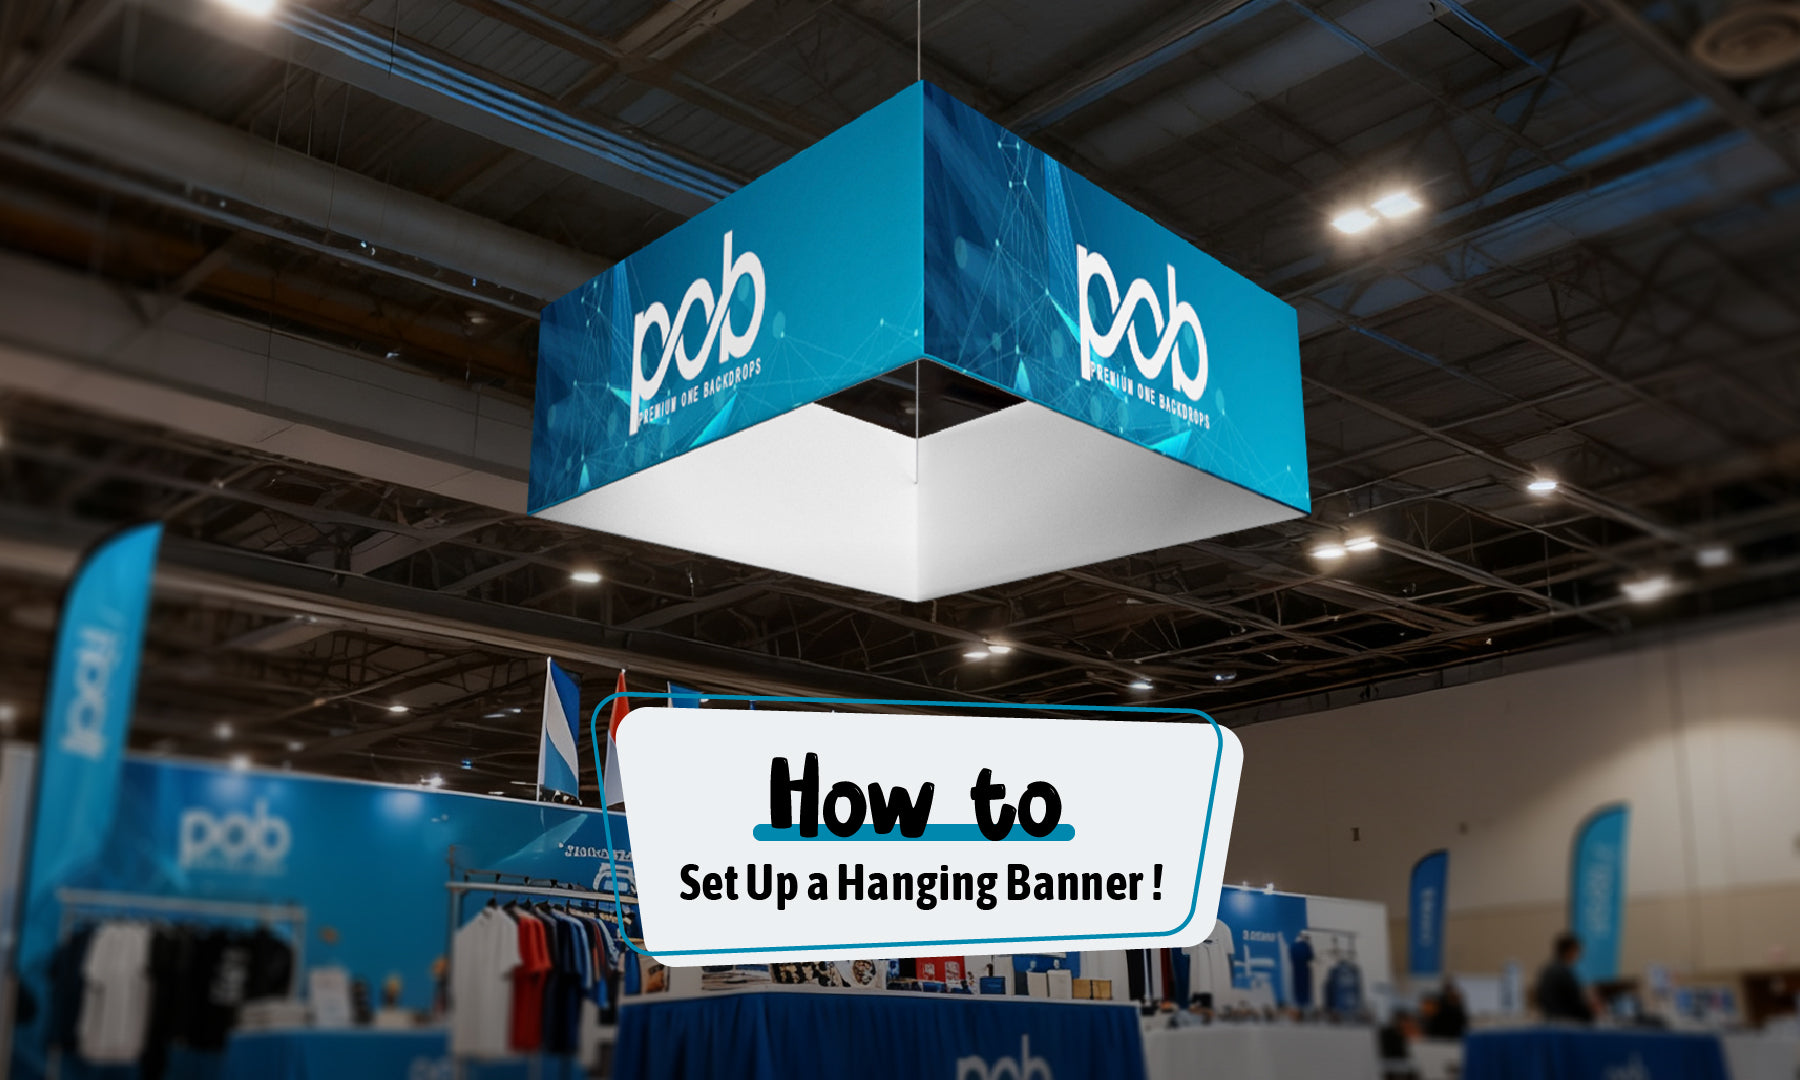
If you’ve ever walked into a trade show and immediately noticed a brand floating above the crowd, you’ve already seen the power of a hanging banner.
These elevated displays maximize visibility from every angle — guiding visitors straight to your booth and reinforcing your brand presence in busy event halls.
At PremiumOneBackdrops, we make hanging banners that are lightweight, easy to assemble, and designed to impress. Whether it’s a circular, square, or triangular frame, setting up your hanging banner is simpler than you think. Here’s a step-by-step guide to help you get it done.
What You’ll Need
Before starting, make sure you have the following items:
✅ Aluminum frame poles
✅ Fabric banner graphic
✅ Bungee cords or connectors
✅ Hanging cables and hooks
✅ Carrying bag
All PremiumOneBackdrops hanging banners come with these components — neatly packed and ready for quick setup.
Step 1: Unpack and Identify the Parts
Lay out all components on a clean, flat surface.
Identify each frame piece — they’re usually labeled or color-coded for easy matching.
Make sure your graphic print is facing the correct direction before assembly begins.
💡 Pro Tip: Use the included diagram (found in your PremiumOneBackdrops instruction sheet) to match each aluminum tube with its connection point.
Step 2: Assemble the Aluminum Frame
Start connecting the aluminum poles according to the frame shape you ordered:
Circular: Connect each curved section until a full ring is formed.
Square or Triangle: Connect the straight bars at the corners using the included connectors.
Ensure that each joint clicks securely — this will keep your banner stable during hanging.
Step 3: Attach the Fabric Graphic
Once the frame is assembled, slide or wrap the printed fabric graphic around it.
Our PremiumOneBackdrops tension fabric is stretch-fitted, giving you a wrinkle-free and vibrant display once secured.
Align the seams with the frame edges to ensure your logo and design are centered.
💡 Pro Tip: If your banner has zippers or Velcro closures, start from one side and work evenly around the frame for a smooth finish.
Step 4: Install Hanging Cables
Attach the hanging cables or hooks to the designated points on the frame.
PremiumOneBackdrops banners come with pre-installed anchor points for fast and secure hanging.
Adjust each cable so the banner stays level once lifted.
For trade show ceilings, the venue will typically provide overhead rigging — you’ll simply hand off the cables to the event’s rigging team for final suspension.
Step 5: Final Check
Once the banner is hung, step back and inspect:
Is it centered above your booth?
Are all sides wrinkle-free and evenly stretched?
Is the logo clearly visible from a distance?
If everything looks perfect — congratulations! You’ve created a stunning overhead display that will draw visitors to your booth all day long. 🎉
Why Choose PremiumOneBackdrops Hanging Banners
✅ Professional-grade materials: Lightweight yet durable aluminum construction.
✅ Vibrant tension fabric graphics: High-resolution dye-sublimation prints.
✅ Tool-free setup: Quick assembly with labeled parts.
✅ Multiple shapes and sizes: Circular, square, triangle, and custom designs.
✅ Fast U.S. fulfillment: Ships directly from our U.S. warehouse with drop-shipping options available.
Conclusion
A hanging banner isn’t just decoration — it’s a high-impact branding tool that makes your booth impossible to miss. With PremiumOneBackdrops, you’ll get a reliable display that’s easy to assemble, transport, and reuse at future events.
👉 Ready to elevate your brand visibility?
Explore our full collection here:
🔗 Shop Hanging Banners